
Flattening a wide wood slab can be frustrating when the piece is too large for a standard planer. A router sled for slab flattening gives you another option. Instead of pushing the slab through a machine, you guide a router across its surface and gradually remove the high spots.
The basic idea is simple, but the setup makes all the difference. If the slab moves, the rails are uneven, or you take too much material in one pass, the finished surface can suffer.
This guide walks through how to use a router sled to flatten live-edge slabs, tabletops, workbenches, and other large woodworking projects.
A router sled is a guided system that lets a router move across a large wood surface. The router attaches to a carriage, and the carriage travels along two guide rails positioned on either side of the workpiece.
As you move the router across the slab, the bit removes material from the high spots. Repeated passes gradually create a flatter surface.
A router sled works well for projects such as:
The biggest advantage is that you do not need to feed the entire workpiece through a planer.
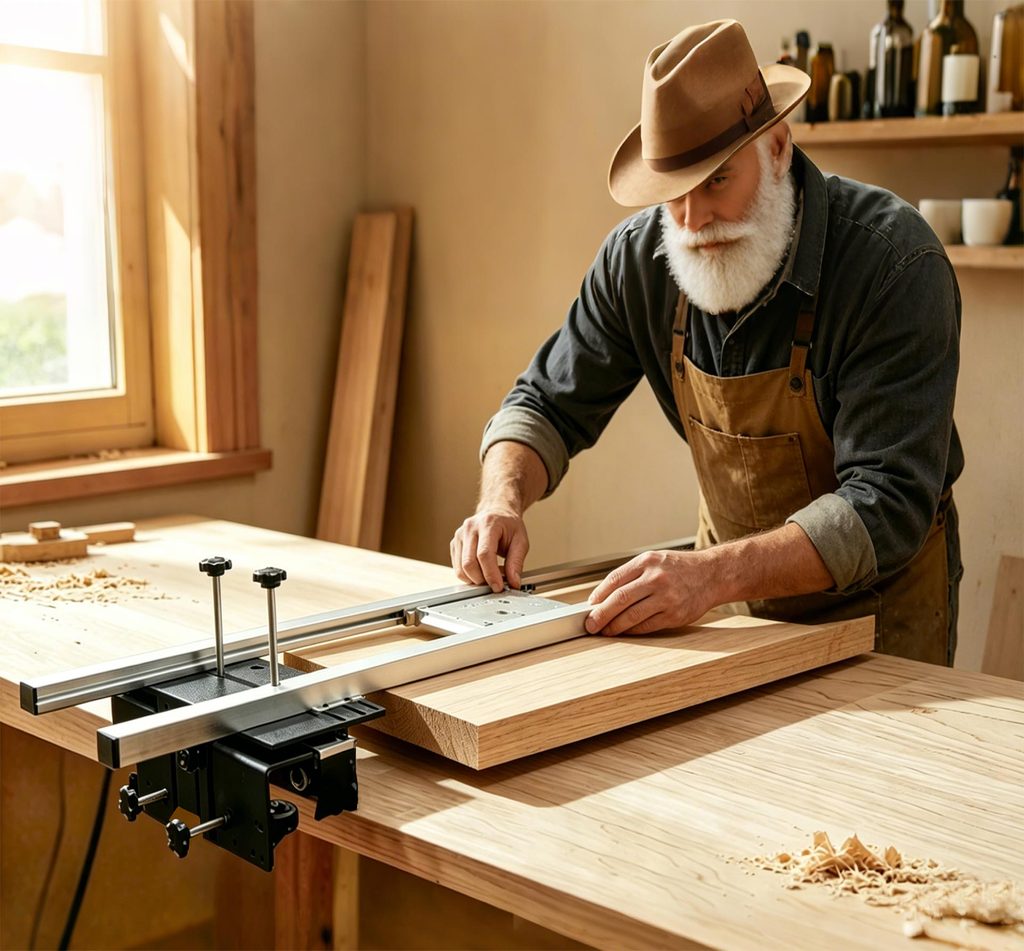
Before you start, gather everything you need. A basic setup includes:
Your router and bit need to be compatible with the sled. Follow the instructions supplied with your equipment when mounting the router.
For large slabs, the guide rails also need enough length to cover the working area. A short sled can work for small pieces, but large live-edge slabs require more travel.
The actual flattening process is fairly straightforward. Most of the work happens before you turn on the router.
Start by checking the entire slab.
Look for loose bark, nails, screws, stones, loose knots, or anything else that could interfere with the router bit.
Pay particular attention to reclaimed wood. A hidden nail or screw can damage the bit and create a dangerous situation.
If the slab has loose sections or large cracks, deal with those before flattening.
You should also decide which face you want to flatten first. In many cases, you will start with the side that has the most uneven surface.
Place the slab on a sturdy work surface.
The slab does not need to be perfectly flat yet. That is what the router sled will help correct. However, it should remain stable throughout the process.
Use suitable supports or shims underneath areas that sit low. Check the slab from different directions and press on different areas to make sure it does not rock.
Secure the workpiece so it cannot shift while the router moves across it.
This step is easy to overlook, but it has a major effect on the result. If the slab moves during a pass, the router follows that movement.
Position the guide rails on opposite sides of the slab.
The rails should remain stable and provide enough clearance for the router carriage to travel across the entire surface.
Check the rails from several angles. They need to provide a consistent reference for the carriage.
For a large slab, make sure the carriage can reach the entire length and width of the area you want to flatten.
A longer guide rail can make this much easier.
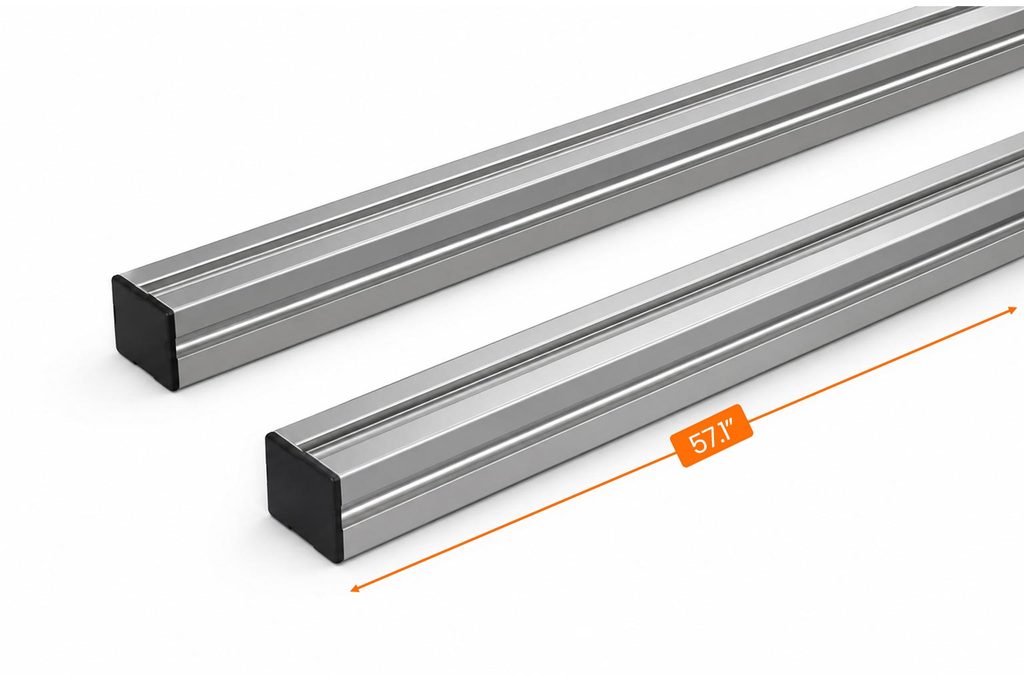
The EONECROSS Router Sled uses a 57.1-inch-longest horizontal guide rail, providing broad coverage for live-edge slabs, tabletops, workbenches, cutting boards, and other large woodworking projects.
Before turning on the router, move the carriage across the rails by hand.
It should move smoothly from one side to the other.
Check for:
If the carriage does not move smoothly by hand, stop and fix the issue before cutting.
You want the router to travel smoothly without having to force it.
Secure the router to the carriage according to the manufacturer’s instructions.
Install a suitable router bit for flattening.
Make sure the bit is properly tightened before use.
Then set the initial cutting depth.
For the first pass, keep the cut shallow. You are not trying to flatten the entire slab in one go.
The first pass helps you see where the high spots are and gives you a reference for the next pass.
Move the router carriage across the slab with the router turned off.
Lower the router bit gradually until it reaches the highest point on the workpiece.
This becomes your starting reference.
If the slab has significant warping, you may see only a small portion of the surface being touched during the first pass. That is normal.
Do not try to force the bit down to reach the lowest areas immediately.
Turn on the router and begin moving the carriage across the slab.
Use controlled passes and let the router bit do the cutting.
Work across the surface methodically. After one pass, move the router over and make the next pass.
The exact movement pattern will depend on your sled and workpiece, but the basic goal remains the same: gradually cover the entire surface without taking an unnecessarily deep cut.
The first pass may leave sections untouched.
That is okay.
You are establishing a flatter reference surface rather than trying to finish the slab immediately.
After completing the first pass, inspect the surface.
If high areas remain, lower the router slightly and make another pass.
Continue this process until the router reaches the areas that still sit above your desired surface.
Take your time here.
A heavily warped slab may require several passes. Trying to remove too much material at once can make the router harder to control and may produce a rougher result.
For most projects, gradual material removal gives you better control.
Once the slab looks consistently machined, stop and inspect the surface.
Use a straightedge to check for obvious high or low areas.
Check from different directions rather than relying on one measurement.
If you find a high spot, make another shallow pass.
Once the surface is flat enough for your project, remove the slab from the sled and move on to sanding or other finishing work.
Router sled flattening creates a workable flat surface, but you may still see machining marks from the router bit. Sanding will normally be part of the finishing process.
There is no universal cutting depth for every slab.
The appropriate depth depends on the router, bit, wood species, slab condition, and how much material needs to come off.
A good general approach is to start shallow and gradually work deeper.
For example, if a slab has one noticeably high area, you do not necessarily need to remove a large amount of material from the entire surface immediately.
Instead, establish a reference surface first and then work down gradually.
When in doubt, take less material rather than more.
A router sled is not difficult to use, but several common mistakes can affect the final result.
Deep cuts can make the router harder to control.
They can also put additional stress on the router, bit, and sled.
Start with a shallow cut and make additional passes.
The guide rails determine how the router travels over the slab.
If the rails are unstable or poorly aligned, you may not get the consistent surface you expect.
Take time to check them before cutting.
A moving slab can ruin an otherwise good setup.
Make sure the workpiece sits securely on its supports and does not rock when you apply pressure.
Do not rush the cutting passes.
Move the router at a controlled pace and allow the bit to remove material properly.
Flattening a large slab can generate a considerable amount of dust and wood chips.
Use suitable dust collection and wear appropriate personal protective equipment.
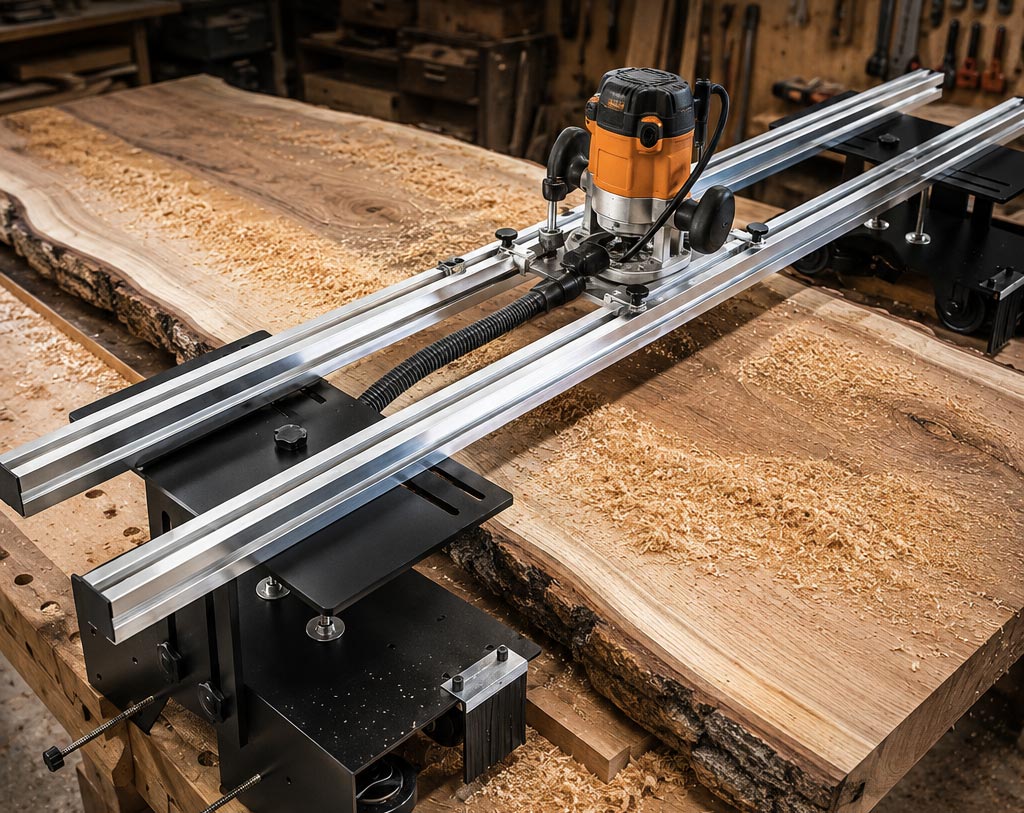
A planer is an excellent tool for processing conventional boards, but large slabs can exceed its practical capacity.
The width of the planer limits what you can feed through it. A large live-edge slab may simply be too wide or awkward to process.
A router sled approaches the problem differently. The router moves over the top of the slab instead of moving the entire slab through the machine.
That makes a router sled for large slabs useful for:
The tradeoff is speed. A planer can process ordinary boards much faster. A router sled usually requires multiple passes and more setup time.
For an oversized slab, however, that extra setup can be worthwhile.
The size of your workpiece should be one of the first things you consider when choosing a router sled.
Look at:
A sled that works well for a small tabletop may not provide enough coverage for a large live-edge slab.
For larger projects, having sufficient guide rail length can make the setup much more practical.
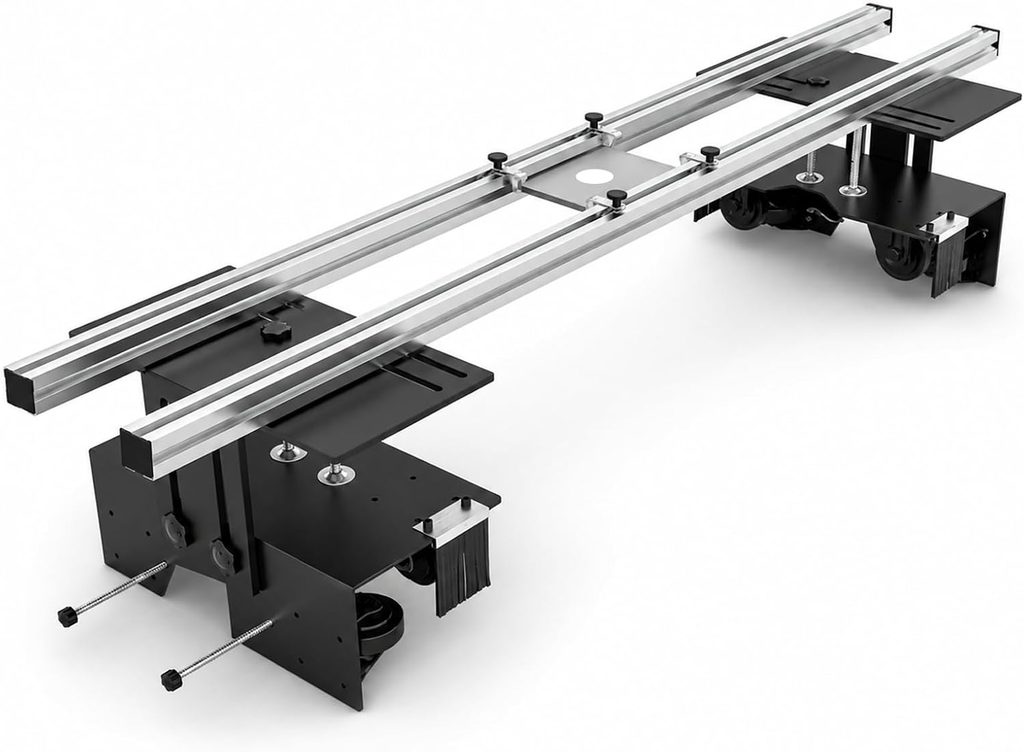
For woodworkers who regularly work with larger pieces, a longer guide system can save time during setup.
The EONECROSS Router Sled for Flattening Slabs features a 57.1-inch-longest horizontal guide rail. The extended rail provides broad coverage for live-edge slabs, tabletops, workbenches, cutting boards, and other large woodworking projects.
The rail-guided carriage gives the router a controlled cutting path across the workpiece. This helps you make consistent passes while gradually flattening the surface.
The sled is designed for both workshop and home DIY use. Assembly is required, and the router itself is not included.
If you only flatten small pieces occasionally, a DIY router sled may be enough. If you work with larger slabs and do not want to fabricate your own rail and carriage system, a ready-made setup can reduce the amount of preparation involved.
The quality of the finished surface depends heavily on the setup.
Before each flattening session:
Do not rush the final passes.
When the slab is almost flat, small adjustments are usually better than aggressive cuts.
A: Yes. A router sled is a practical way to flatten many live-edge slabs, especially pieces that are too wide or awkward for a conventional planer.
A: Secure the slab, set up stable guide rails, attach the router to the carriage, start with a shallow cut, and gradually make passes across the surface until you reach the desired flatness.
A: For oversized slabs, a router sled can be more practical because you do not need to feed the entire workpiece through a planer. A planer is generally faster for conventional boards.
A: It depends on the condition of the slab and how much material needs to be removed. A badly warped slab may require several shallow passes.
A: Choose a router sled with enough guide rail length and carriage travel to cover the entire working area. Measure your largest planned workpiece before choosing a sled.
A: Yes. Many woodworkers build DIY router sleds from guide rails, a carriage, and supporting hardware. A commercial router sled can save the time and effort required to design and build those components yourself.
Learning how to use a router sled is mostly about getting the setup right and taking your time.
Keep the slab stable. Check the guide rails. Start with shallow passes and gradually remove material. You will have much better control than if you try to flatten a badly uneven slab in one aggressive cut.
A DIY setup can make sense if you enjoy building your own woodworking equipment. For larger projects, a ready-made system can simplify the process.
The EONECROSS 57.1-inch Router Sled for Flattening Slabs is designed for woodworkers who need broader guide coverage for large slabs, tabletops, workbenches, and similar projects.
If your next project involves a wide live-edge slab that will not fit through your planer, a router sled is worth considering.